How to repair rotted wood retaining wall
You’ve been putting off that nagging home improvement project for months now. Every time you walk past it, you tell yourself you’ll get to it eventually. But eventually never seems to come. We’re talking about your rotted wood retaining wall.
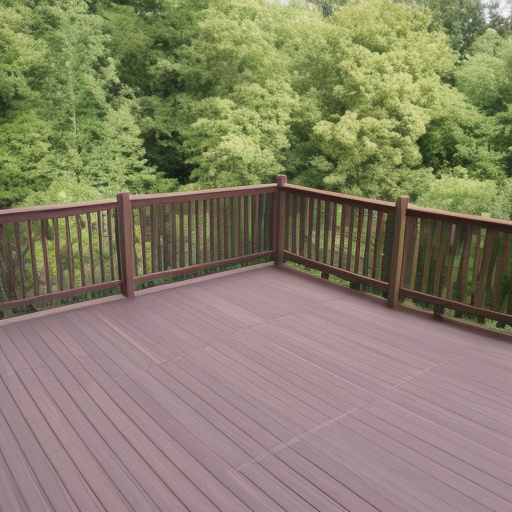
You love your backyard – it’s the perfect spot for summer barbecues, evening bonfires, and weekend gardening. But the ugly, crumbling retaining wall is bringing down the whole vibe. You know you need to repair it, but where do you even start?
Don’t worry, we’ve got you covered. In this blog post, we’ll show you how to repair your rotted wood retaining wall and get your backyard looking beautiful again.
Assessing the Damage
The first step in repairing a rotted wood retaining wall is to assess the damage. Start by inspecting the wall for any visible rot or decay. Look for soft or spongy wood, as well as any signs of water damage, such as discoloration or blistering.
If you can’t see any rot or decay, try tapping on the wood with a hammer or screwdriver. If the wood is soft or makes a hollow sound, it’s probably rotted.
Once you’ve identified the areas of rot, use a screwdriver or chisel to carefully remove any loose or decayed wood. This will give you a better idea of the extent of the damage and help you determine the best course of action.
Removing the Rotted Wood
Once you’ve identified the areas of rot, it’s time to start removing the rotted wood. This can be a delicate process, as you don’t want to damage the surrounding wood or cause the wall to collapse.
Start by using a screwdriver or chisel to carefully remove any loose or decayed wood. Be sure to wear protective goggles and gloves to protect yourself from splinters and debris.
If the rot is extensive, you may need to use a saw or power drill to remove large sections of the retaining wall. Again, be careful not to damage the surrounding wood or cause the wall to collapse.
Repairing the Damage
Now it’s time to repair the damage. If the rot is confined to a small area, you may be able to simply fill the void with wood filler and sand it smooth. However, if the rot is extensive, you’ll need to replace the damaged wood.
To replace the damaged wood, cut a piece of wood to fit the size and shape of the void. Be sure to use a wood that is compatible with the existing retaining wall – cedar or redwood are good choices.
Use wood glue and nails or screws to secure the new wood in place. If necessary, use a saw or power drill to shape the new wood to fit the contours of the wall.
Sealing and Protecting the Wood
Once you’ve repaired the rotted wood, it’s important to seal and protect it to prevent future rot and decay. Start by sanding the repaired area smooth. Then, apply a wood preservative to the entire retaining wall to protect it from water damage.
Finally, apply a sealant to the retaining wall to protect it from the elements. Be sure to choose a sealant that is compatible with the type of wood you’re using.
Conclusion
Repairing a rotted wood retaining wall may seem like a daunting task, but with a little patience and the right tools, it’s a project that any DIY enthusiast can tackle. By following these simple steps, you’ll be able to repair your retaining wall and enjoy a beautiful backyard for years to come.